The custom rom itself is brilliant, as many sites will attest, but I discovered a problem syncing GPS with my device. This appears to be a common problem with the device but I found few coherent ways to correct it. Many sites regarded it a software issue while others stated it was worn connectors on antenna.
Through my own research I found a post that described extending the antenna with a wire, rather than just replacing the panel antenna. Following this site and the linked video, I carried out this modification myself and have found it successful.
Below I have summarised the process I followed, but as stated in the video: I guarantee nothing. If there is a problem with your device contact your carrier. Carrying out this modification and rooting your device will likely void it's warranty and may damage the device (if improperly conducted). Proceed with caution.
Step 1 - Open the device and remove the battery

Opening the device and removing the battery is straight-forward. Be careful not to damage clips during the process.
Step 2 - Get hold of a sturdy length of material with a bend

I used a set of tweezers and bent the ends, I only used the lower one to carry out the next step.
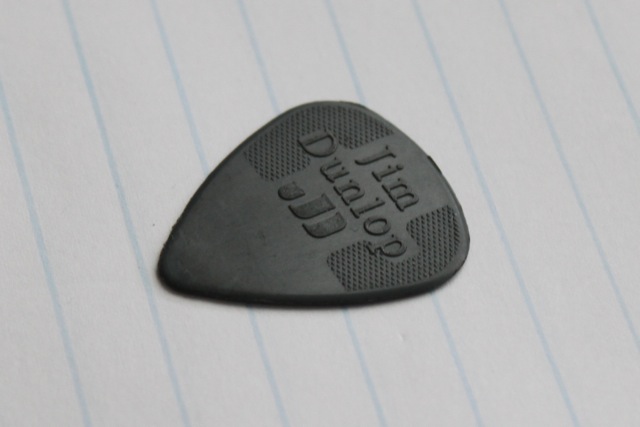
Step 3 - Open the cover around the flash

In order to do this, you need to carefully push the panel's bottom left corner with the above tool, from within the battery opening. Then one must carefully pry a flat screw driver into the gap, followed by a flat piece of plastic (I used the guitar pick below) and free the clips around the cover.
It is useful to start at the screwdriver and move around in a counterclockwise fashion.
Step 4 - Prepare the wire, used to extend the antenna
Note: The cover has mostly gold terminals. These have dark patches, indicative of the wear previously mentioned.

I used a 0.5mm solid core wire, about 25mm long and stripped the ends by about 2mm.
Step 5 - Solder the ends onto the antenna terminals within the phone

Obviously be careful when doing this step.
Step 6 - Reassemble the phone and try it out
Start by placing the cover such that the left and bottom clips are engaged. Then use the flat screwdriver to push the other clips in. Plug in the battery and close the right panel.
In general an easy modification that I had put off, despite struggling for over a minute at a time to get a GPS lock. I tried it quickly indoors and found 2 satellites and a location lock. I will test it outdoors later, using Ingress mostly ;-), but will update with the results.
Update: I played a bit of Ingress with the phone without issue. Previously my GPS signal was never stable enough and the scanner was consistently disabled. Below is a screenshot of the app "GPS Status" running on my phone, during one such session. Now just to sort my battery issues :-P

No comments:
Post a Comment